
Add and import exhibitors
Add exhibitors one at a time or from a CSV file, organize them into categories, and archive them.
Exhibitors who buy a booth online are added for you automatically. Use Exhibitors in the show sidebar to add others yourself, import a list, and organize them into categories.
Add one exhibitor
Select Add exhibitor and fill in what you have. Only Company name is required. The form covers:
- Logo, description, website, keywords and category
- Booth numbers
- Public contact: name, email, title, phone and fax
- Address and social links
- Internal details, which exhibitors never see: an administrative contact, an external ID, a QuickBooks customer ID and an internal memo
Import a list
Download the template
Select Import, then Download CSV template. It has a column for every field, from
CompanyandBooth_Numberto social links and admin contact details.Fill it in
One exhibitor per row.
Companyis required on every row. To give an exhibitor several booths, categories or keywords, separate them with a semicolon, for exampleA100;A101. Two exhibitors can share a booth: give both rows the same booth number. If more than one of your maps has that booth number, the exhibitor gets each of them; assign the exact booth on the map to choose one.Upload it
Select Upload CSV. Columns Map D does not recognize are skipped.
Import booth personnel
To add booth staff for many exhibitors at once, select Import personnel on Exhibitors.
Download the template
Select Download. Each row is one person:
First_NameandLast_Nameare required, withTitle,Email,Phone,Personnel_Type,BioandBook_Meeting_Linkif you have them.Say which exhibitor each person works for
Fill in
Companywith the exhibitor's name as it appears in your show. If two exhibitors share a name, useExhibitor_IDinstead: it is the Exhibitor ID column of the Exhibitors report under Reports.Choose append or replace, and upload
Append adds the people to each exhibitor's existing staff. Replace first removes the booth staff of the exhibitors in your file, and only theirs. Their primary contact stays.
Rows that don't match an exhibitor are skipped, and Map D lists them by row number.
Categories
On the Categories tab, select Add category to create one, with an optional color, or Import CSV to add many. Categories help attendees filter your exhibitor directory. Exhibitors can also add categories to their own profile.
Custom fields
Custom fields are your own questions for every exhibitor in the show, such as how many wristbands they need or their certificate of insurance. On the Custom fields tab, select Add field and choose:
- Type: Short text, Long text, Yes or no or File.
- Where it appears: Internal only answers are never shown on your Homebase. A Public profile answer appears in that section of the exhibitor's profile on your Homebase.
- Only you can change it: exhibitors see the answer in their portal but can't edit it.
Answer a field on the exhibitor's Profile tab under Custom fields, then select Save answers. Exhibitors answer the others on the Show questions tab of their profile. Each field is also a column when you export exhibitors. A field you no longer need can be archived; Archived lists them, with Restore. If your show moved from your previous platform, its custom fields and answers came with it.
Choose what the public profile shows
On the Public profile tab, turn off any detail you don't want on the exhibitor profiles on your Homebase and in the attendee app: Contact name, Contact email, Contact phone, Website, Social links, Company description or Booth staff titles. The change applies to every exhibitor in the show straight away. You and your team still see every detail in the workspace, in exports and through your API. If your show moved from your previous platform, the details it hid stay hidden.
Find and manage exhibitors
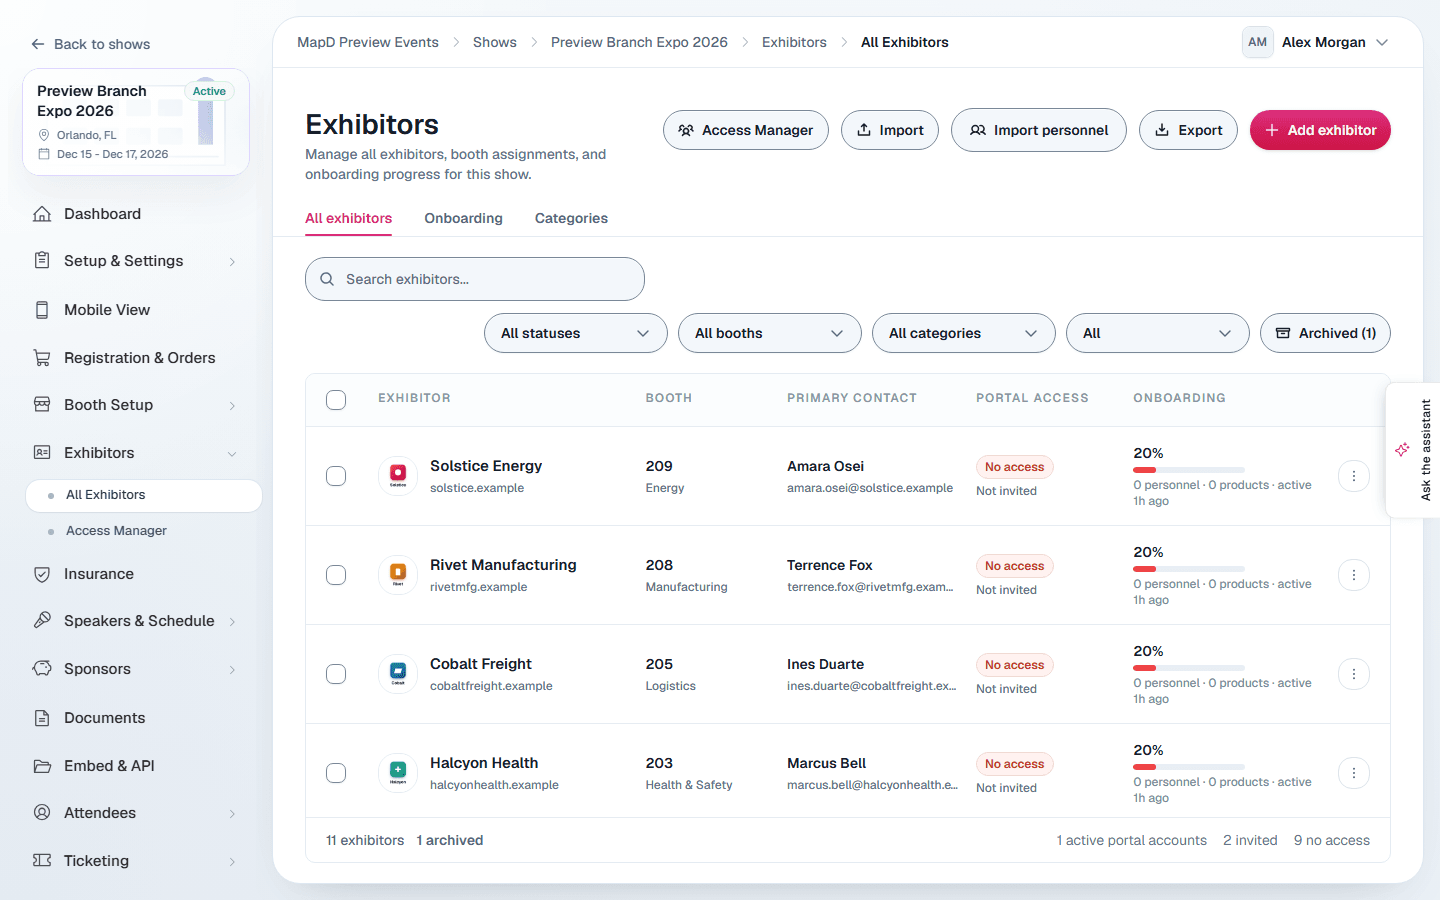
The All exhibitors list shows each exhibitor's booth, primary contact, portal access and onboarding progress. Filter by profile status, booth assignment, category or portal access.
From the menu on a row:
- Open profile: see and edit everything about the exhibitor. See An exhibitor's profile and View as exhibitor.
- Manage access and Send invite: see Invite exhibitors to their portal.
- Archive exhibitor: hide them from the list and your show. Turn on the Archived filter to find them again and select Restore exhibitor.
Select Export to download the list.
Still need help?
Contact your Map D account team. Include your show name and, if something looks wrong, a screenshot of the page.
Last updated October 1, 2026